The debate about which nests to use with breeding turkey flocks and the choice between automatic or manual nests has been the choice that investors in breeding farms have had to consider.
There is no doubt that historically manual nests guaranteed better production results, but it is also true, that more recently the results of automatic nests have become closer to those of manual nests and close to overlapping them.
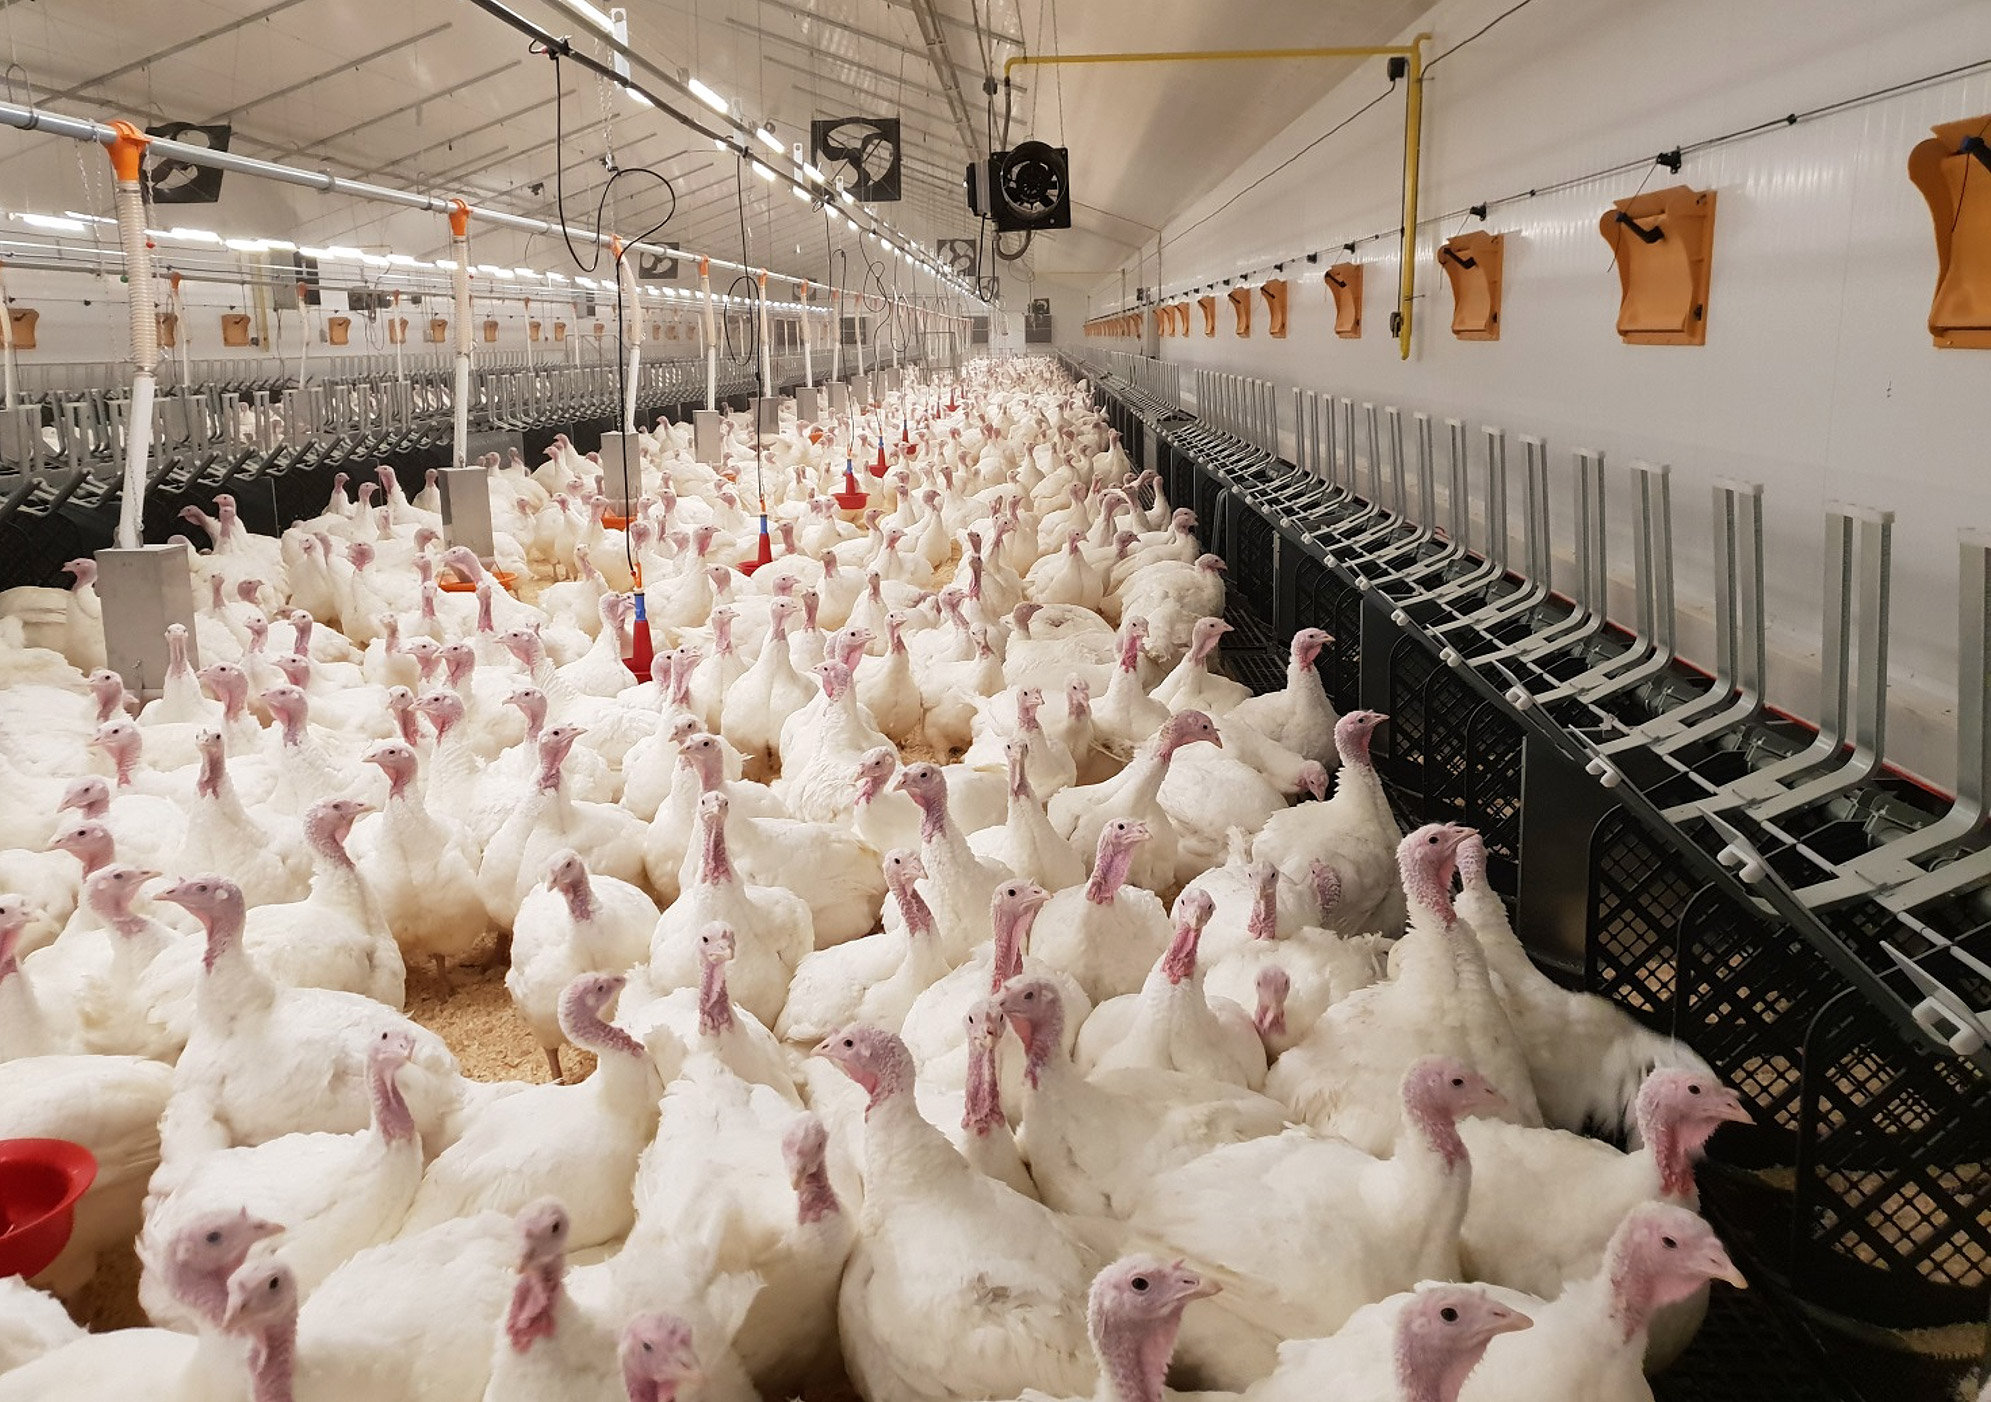
This improvement in results is due, in our opinion, to the improved technical characteristics of automatic nests (e.g. materials used, shape and size of ramps, etc.) that make the nests more "accepted" by the birds. Turkeys have also become more active and dynamic, meaning they can use these nests more easily.
Evidence of the improvement in results is demonstrated by the number of farms that have equipped themselves with automatic nests but, behind this choice, there is also another important reason. More attention is paid to the welfare of employees within the companies and it is incontestable that use of automatic nests reduces activity levels of egg collecting. Add to this the difficulty, in many countries, to find employees who agree to perform jobs such as egg collection and the automatic nests become almost an obligatory choice.
Although there are many manufacturers of automatic nests, the companies that have been most successful with their products are MGH and Vencomatic. The automatic nests of these two companies differ considerably in the way they operate traps, the ejection mechanisms and the way they collect and transport the eggs.
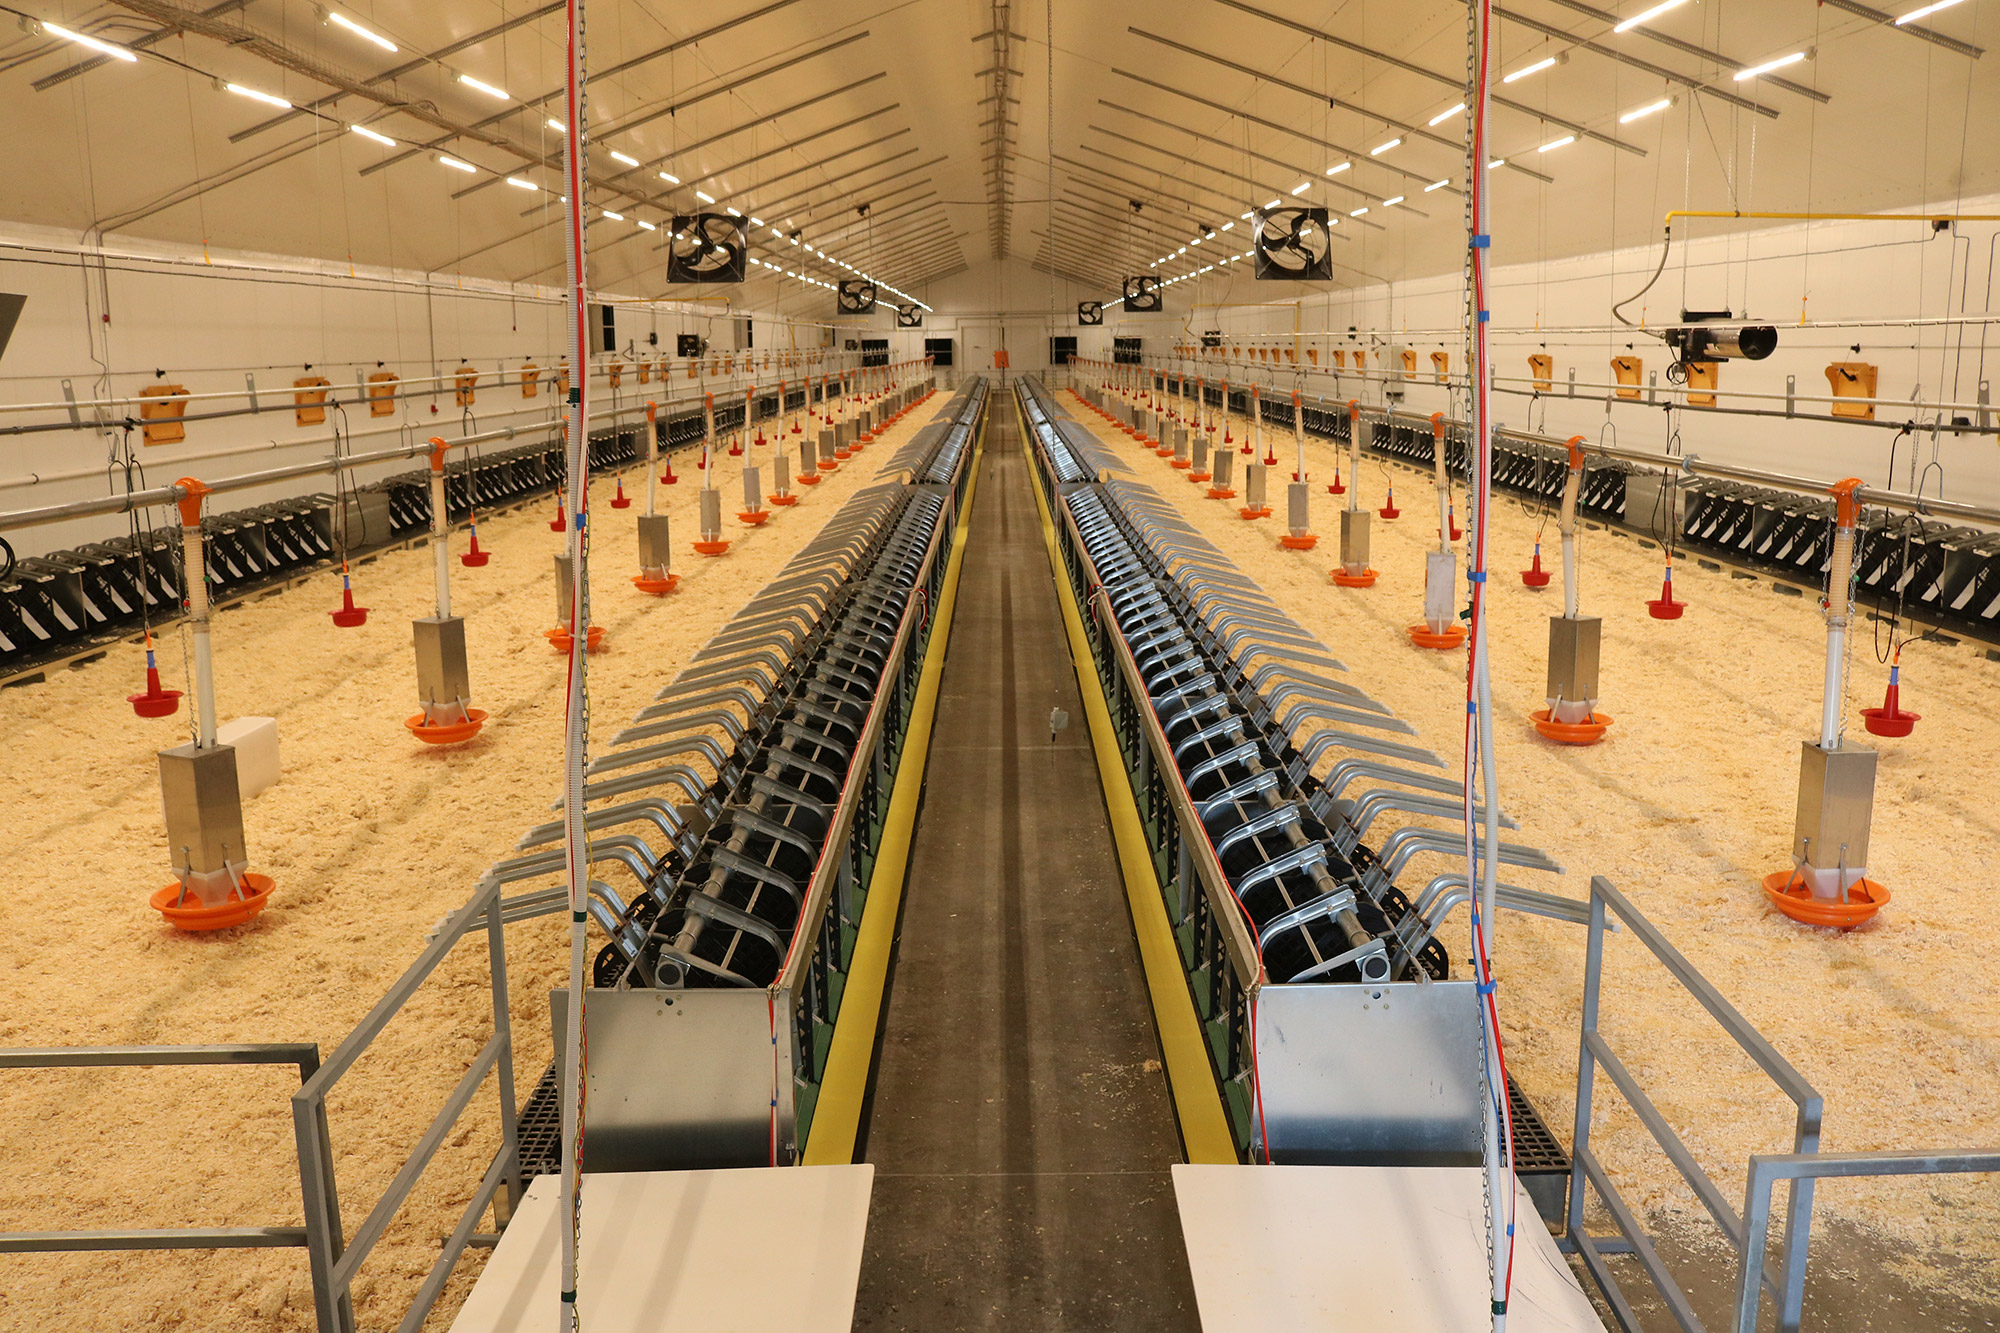
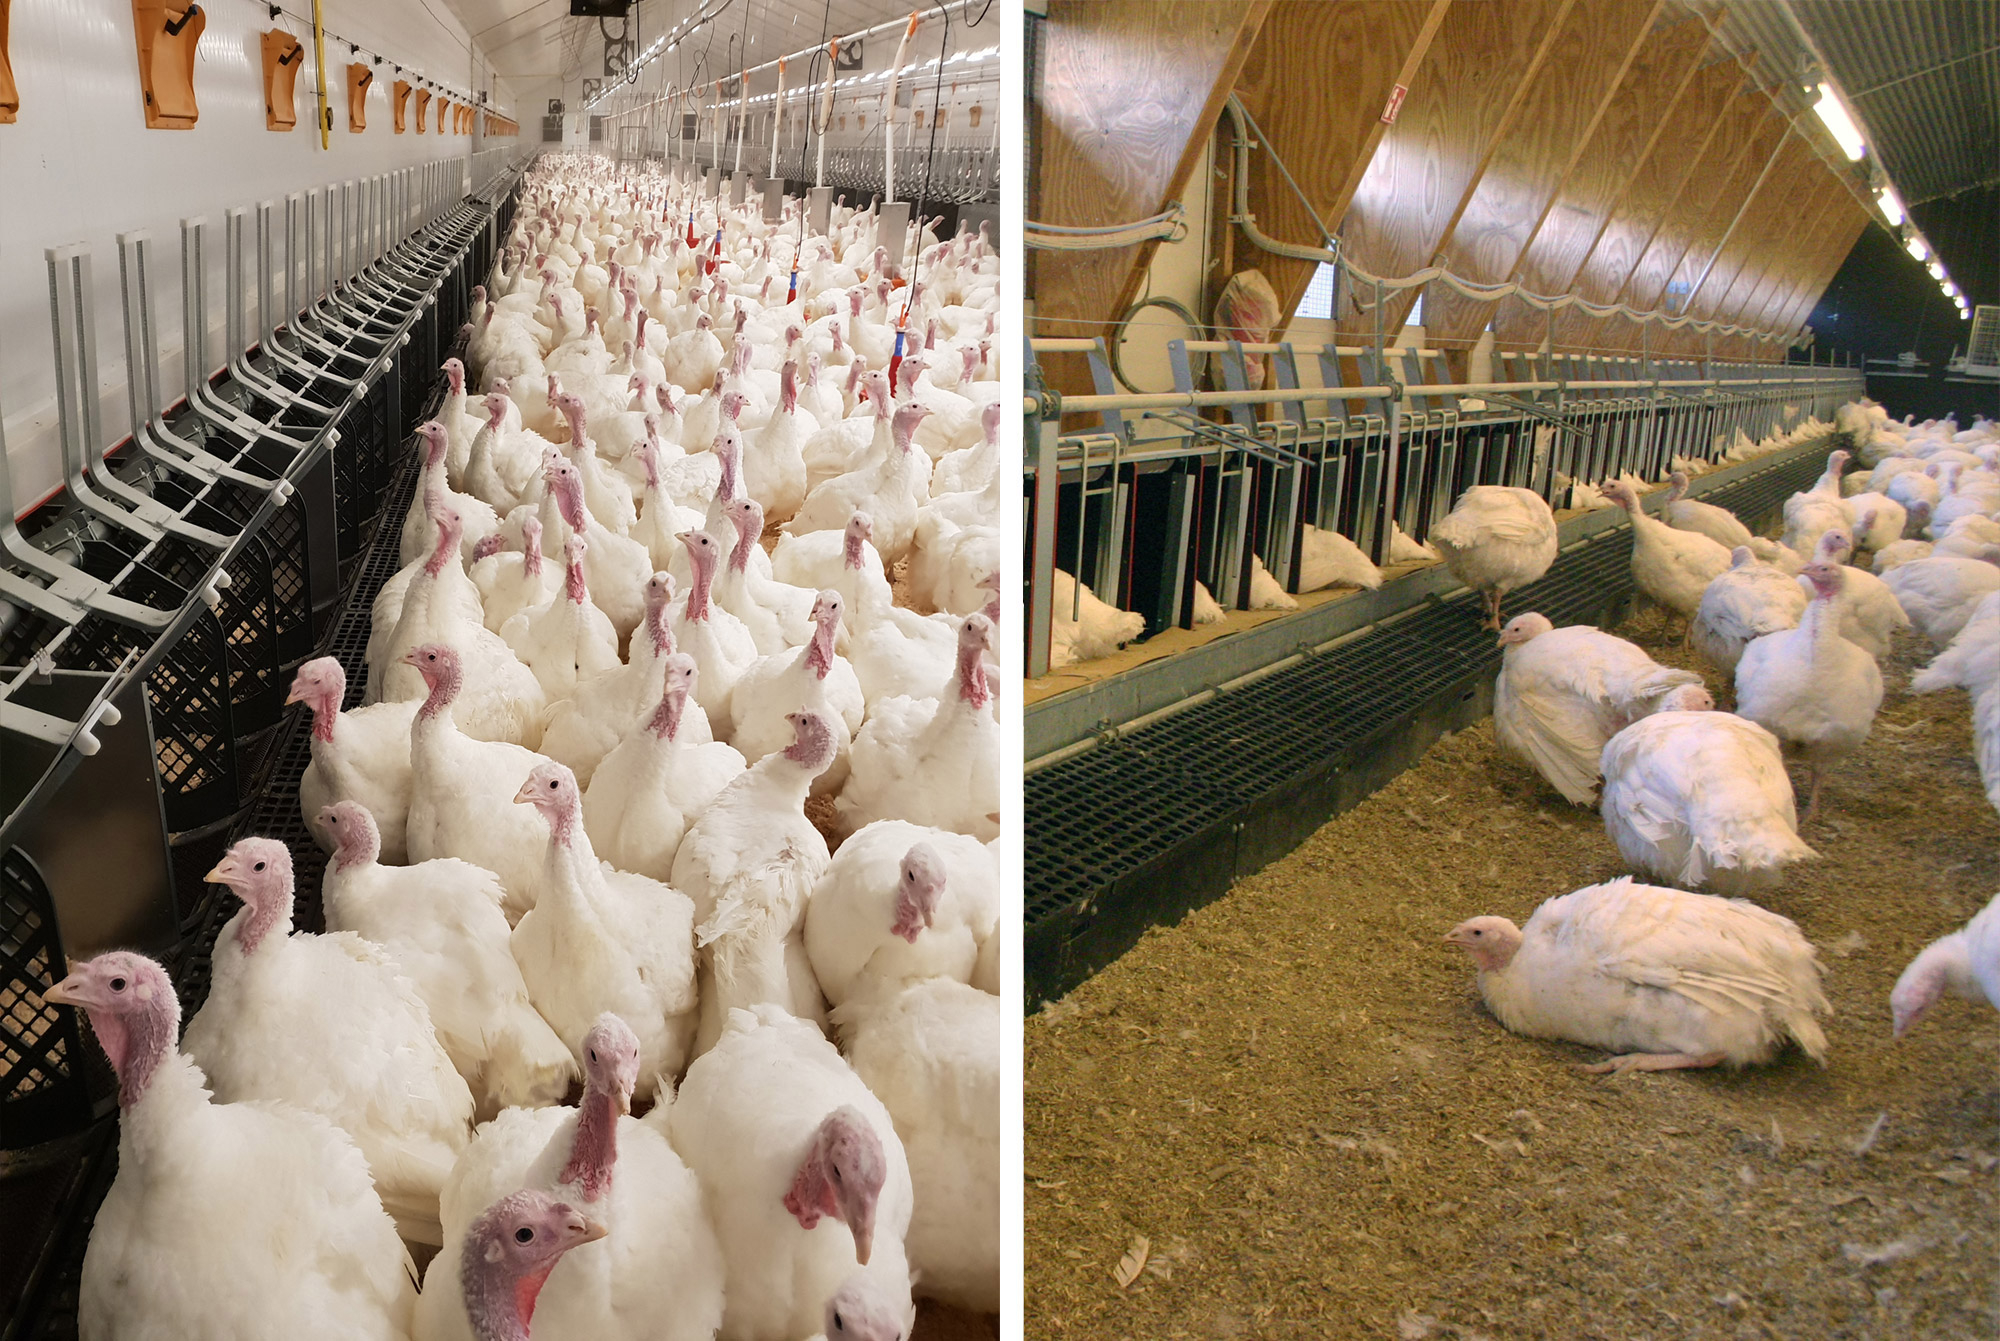
Regarding the positioning of nests inside the sheds, with sheds less than 14 meters wide, the choice falls between two rows of central nests divided by a corridor, (see figure 1) or sheds with nests along the two side walls, separated by two corridors, with less space available for the birds (see figure 2).
In the case of open sided sheds, the choice of the central rows certainly allows more protection from rain, wind or light while with the side nests, the resting space along the sidewalls is practically eliminated.
To discourage birds from gathering along the sidewalls, these areas can be illuminated more and/or the walls painted white. Whilst to improve the attractiveness of the nests to the females, these should be placed in a darker area of the shed, (lowering the light intensity above the nests themselves) or be obscured in some way at the beginning of production.
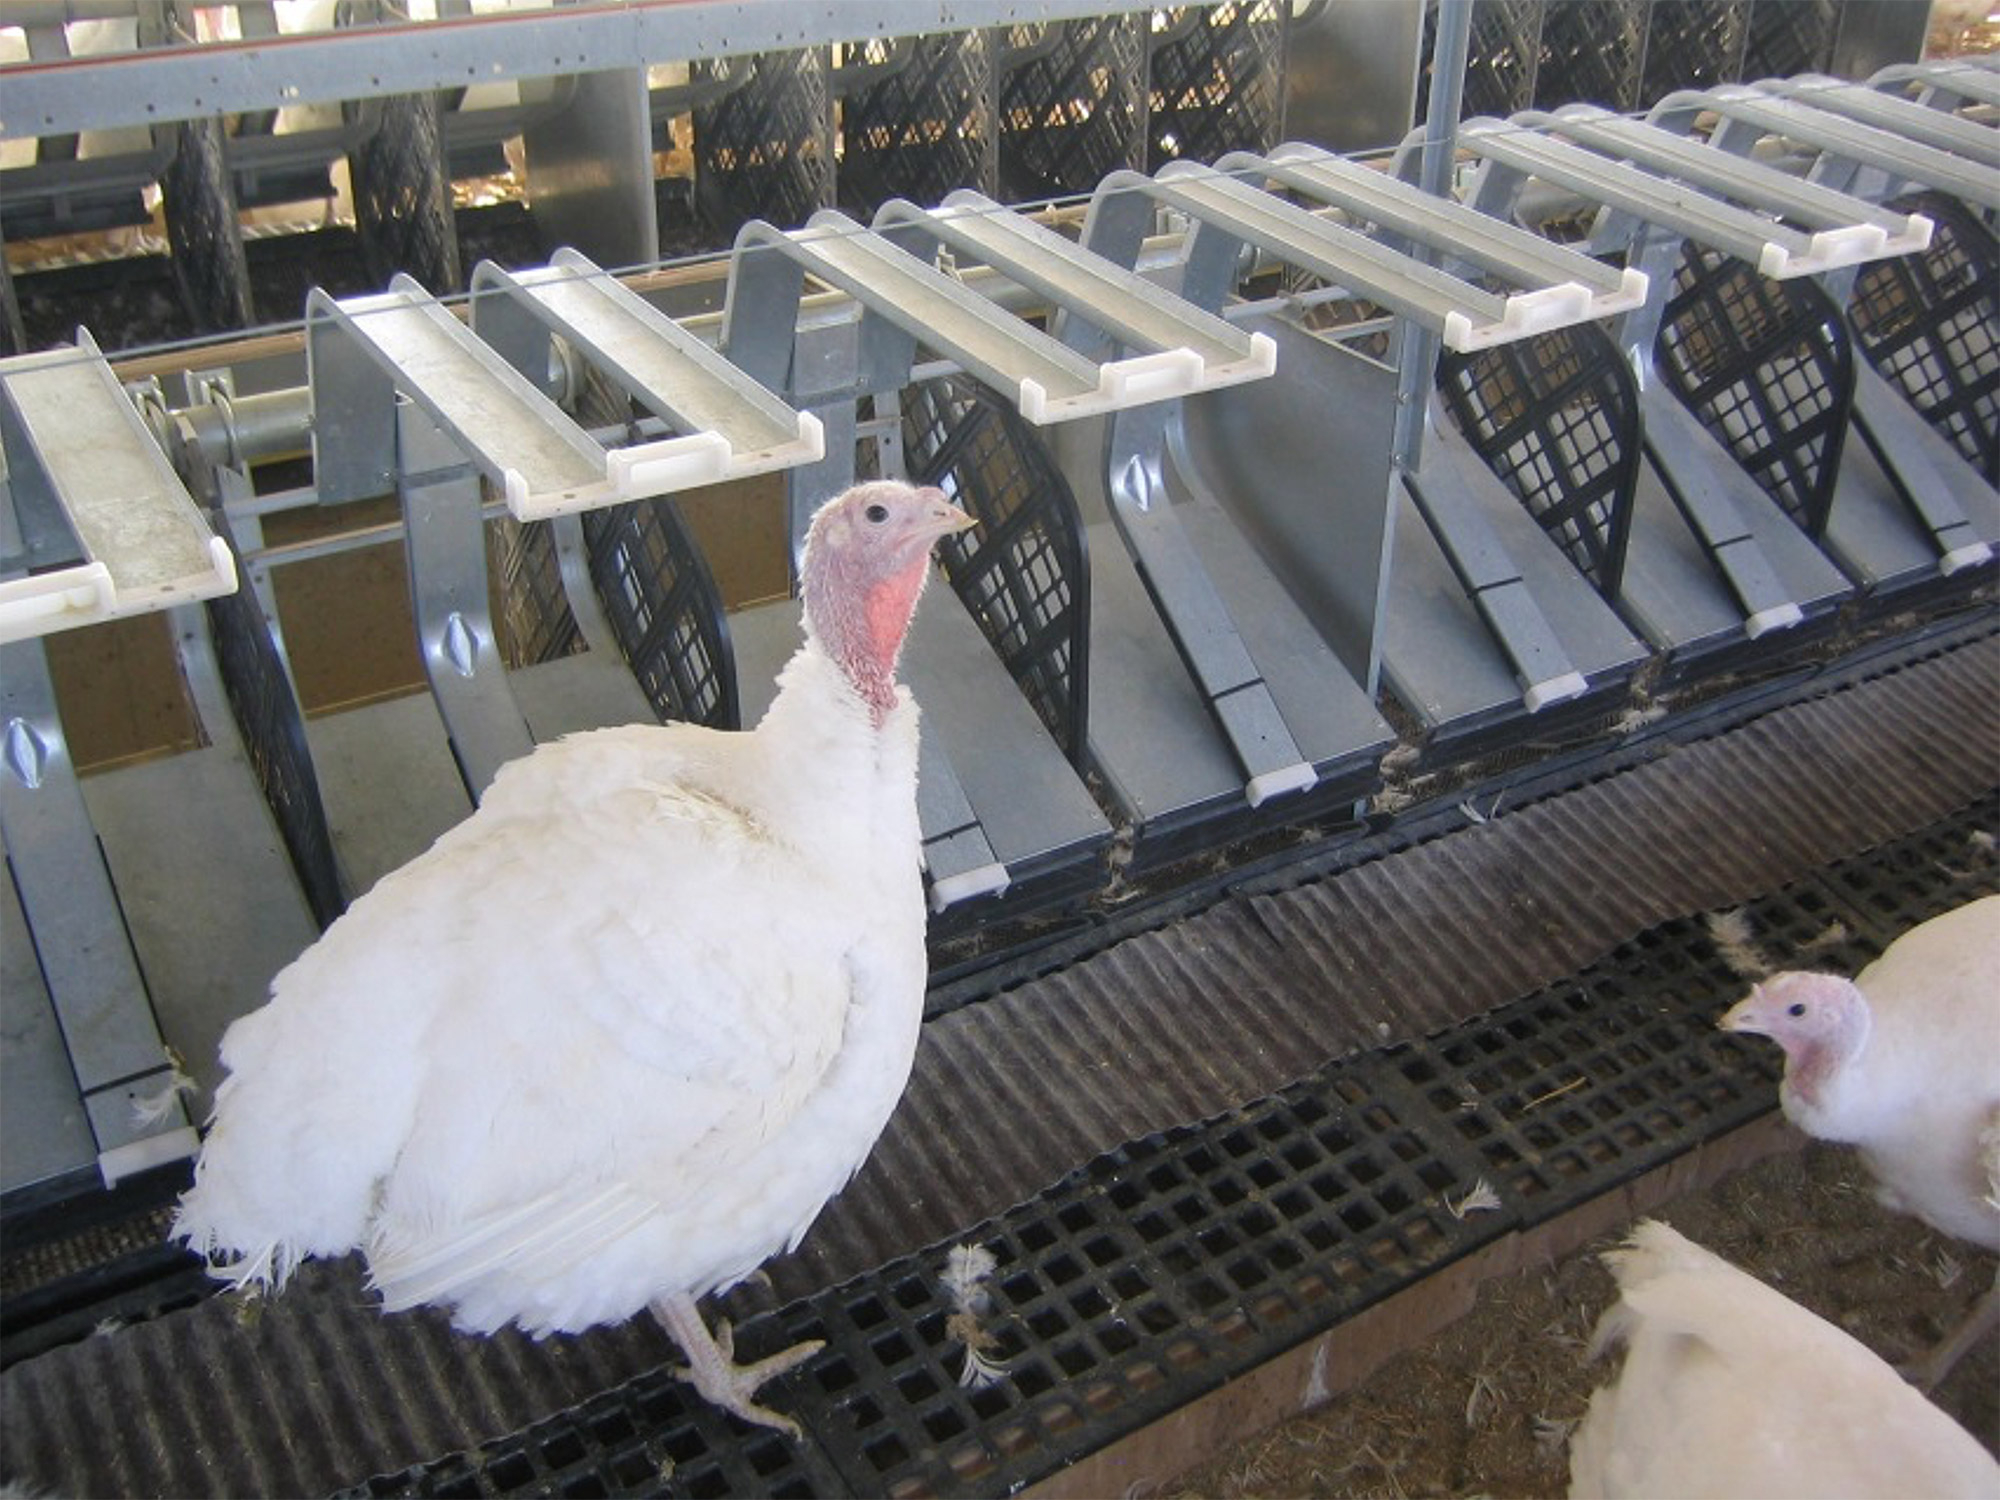
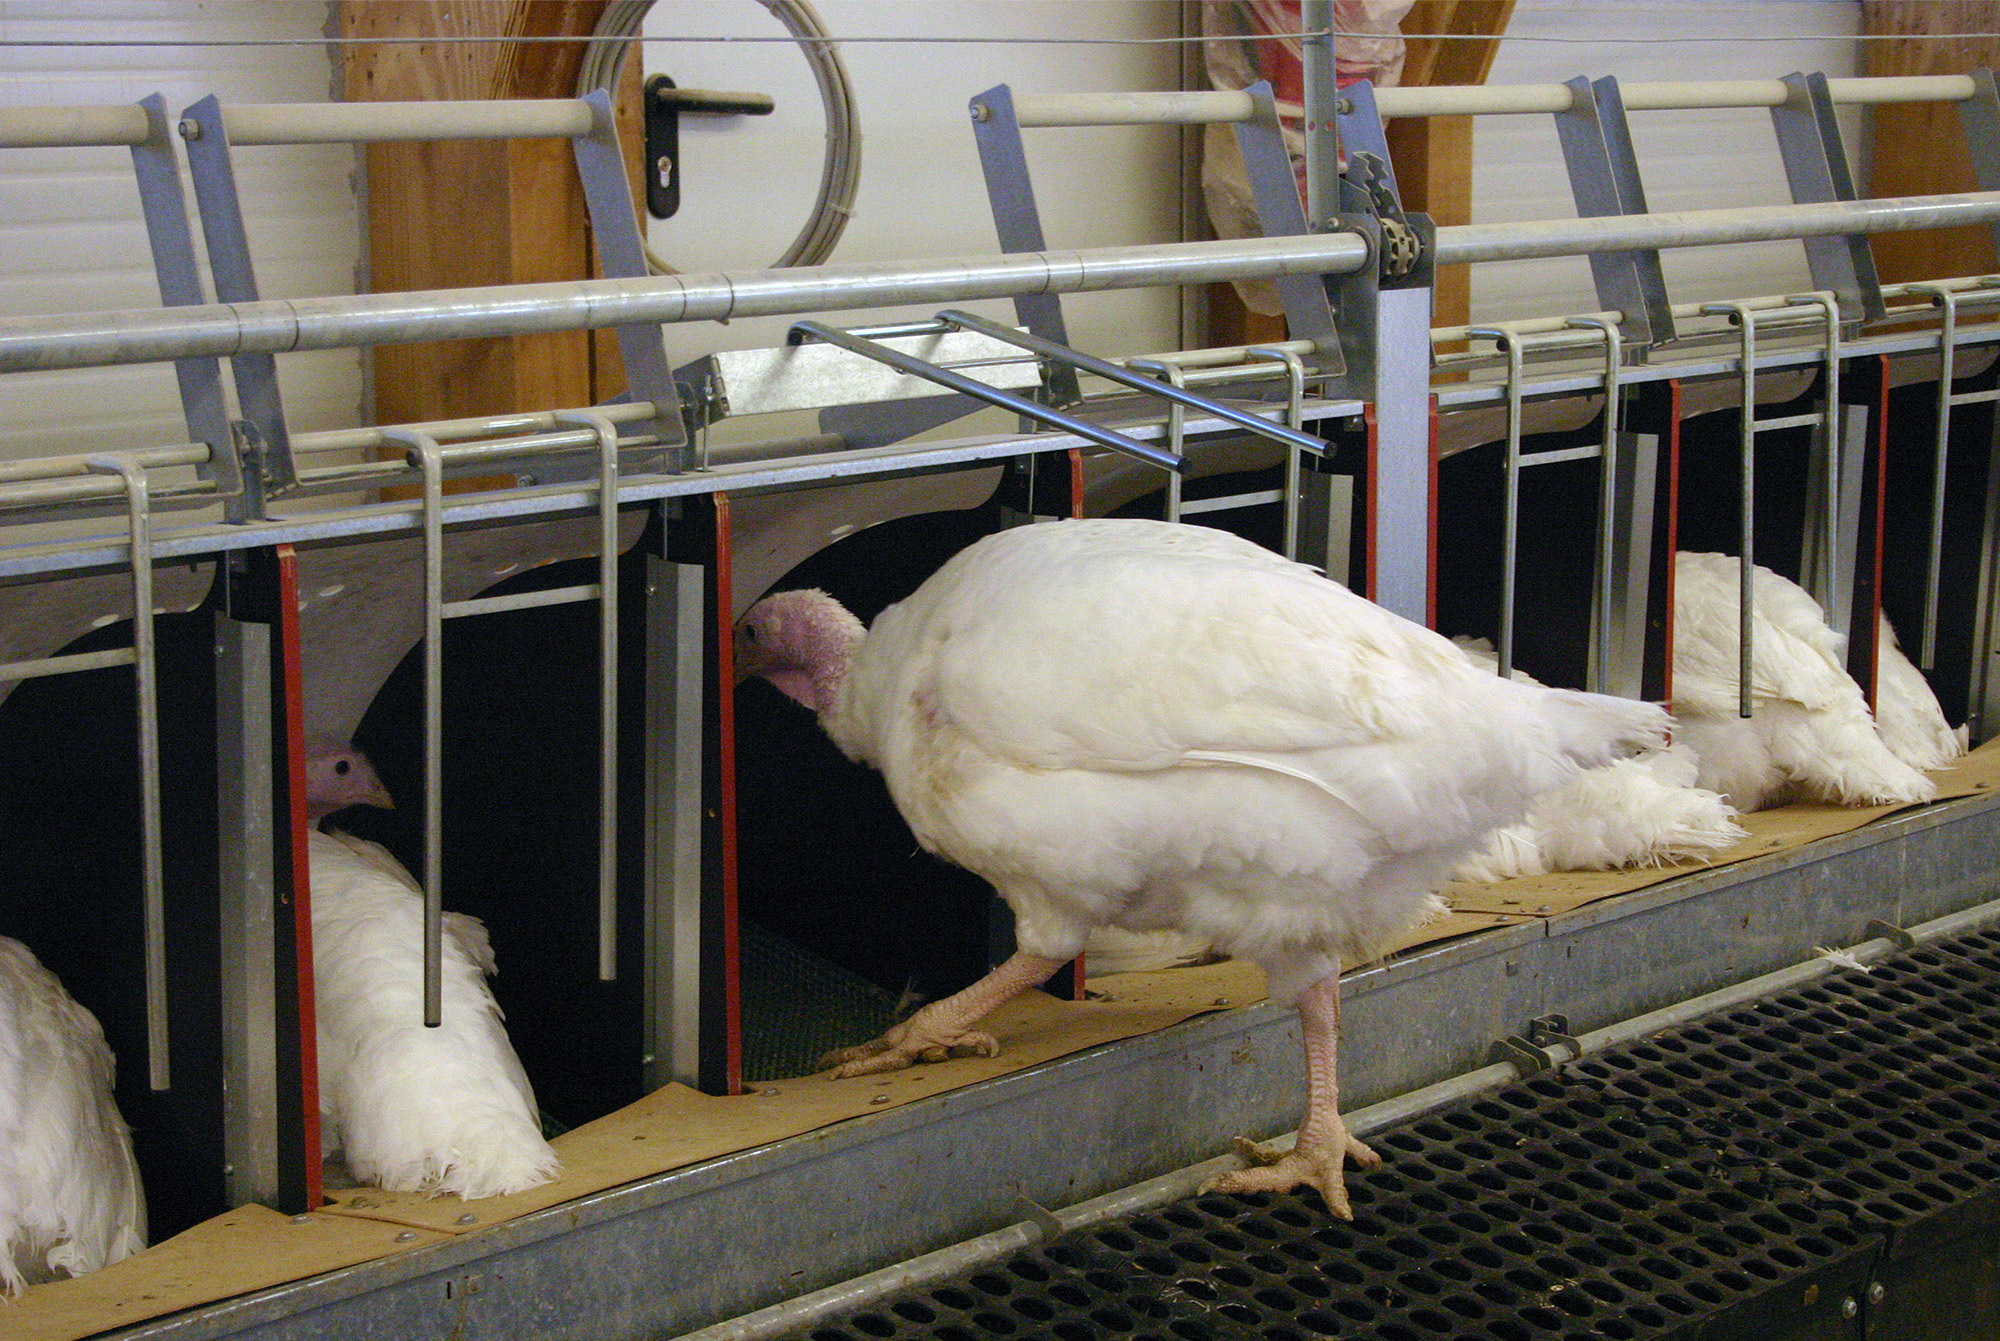
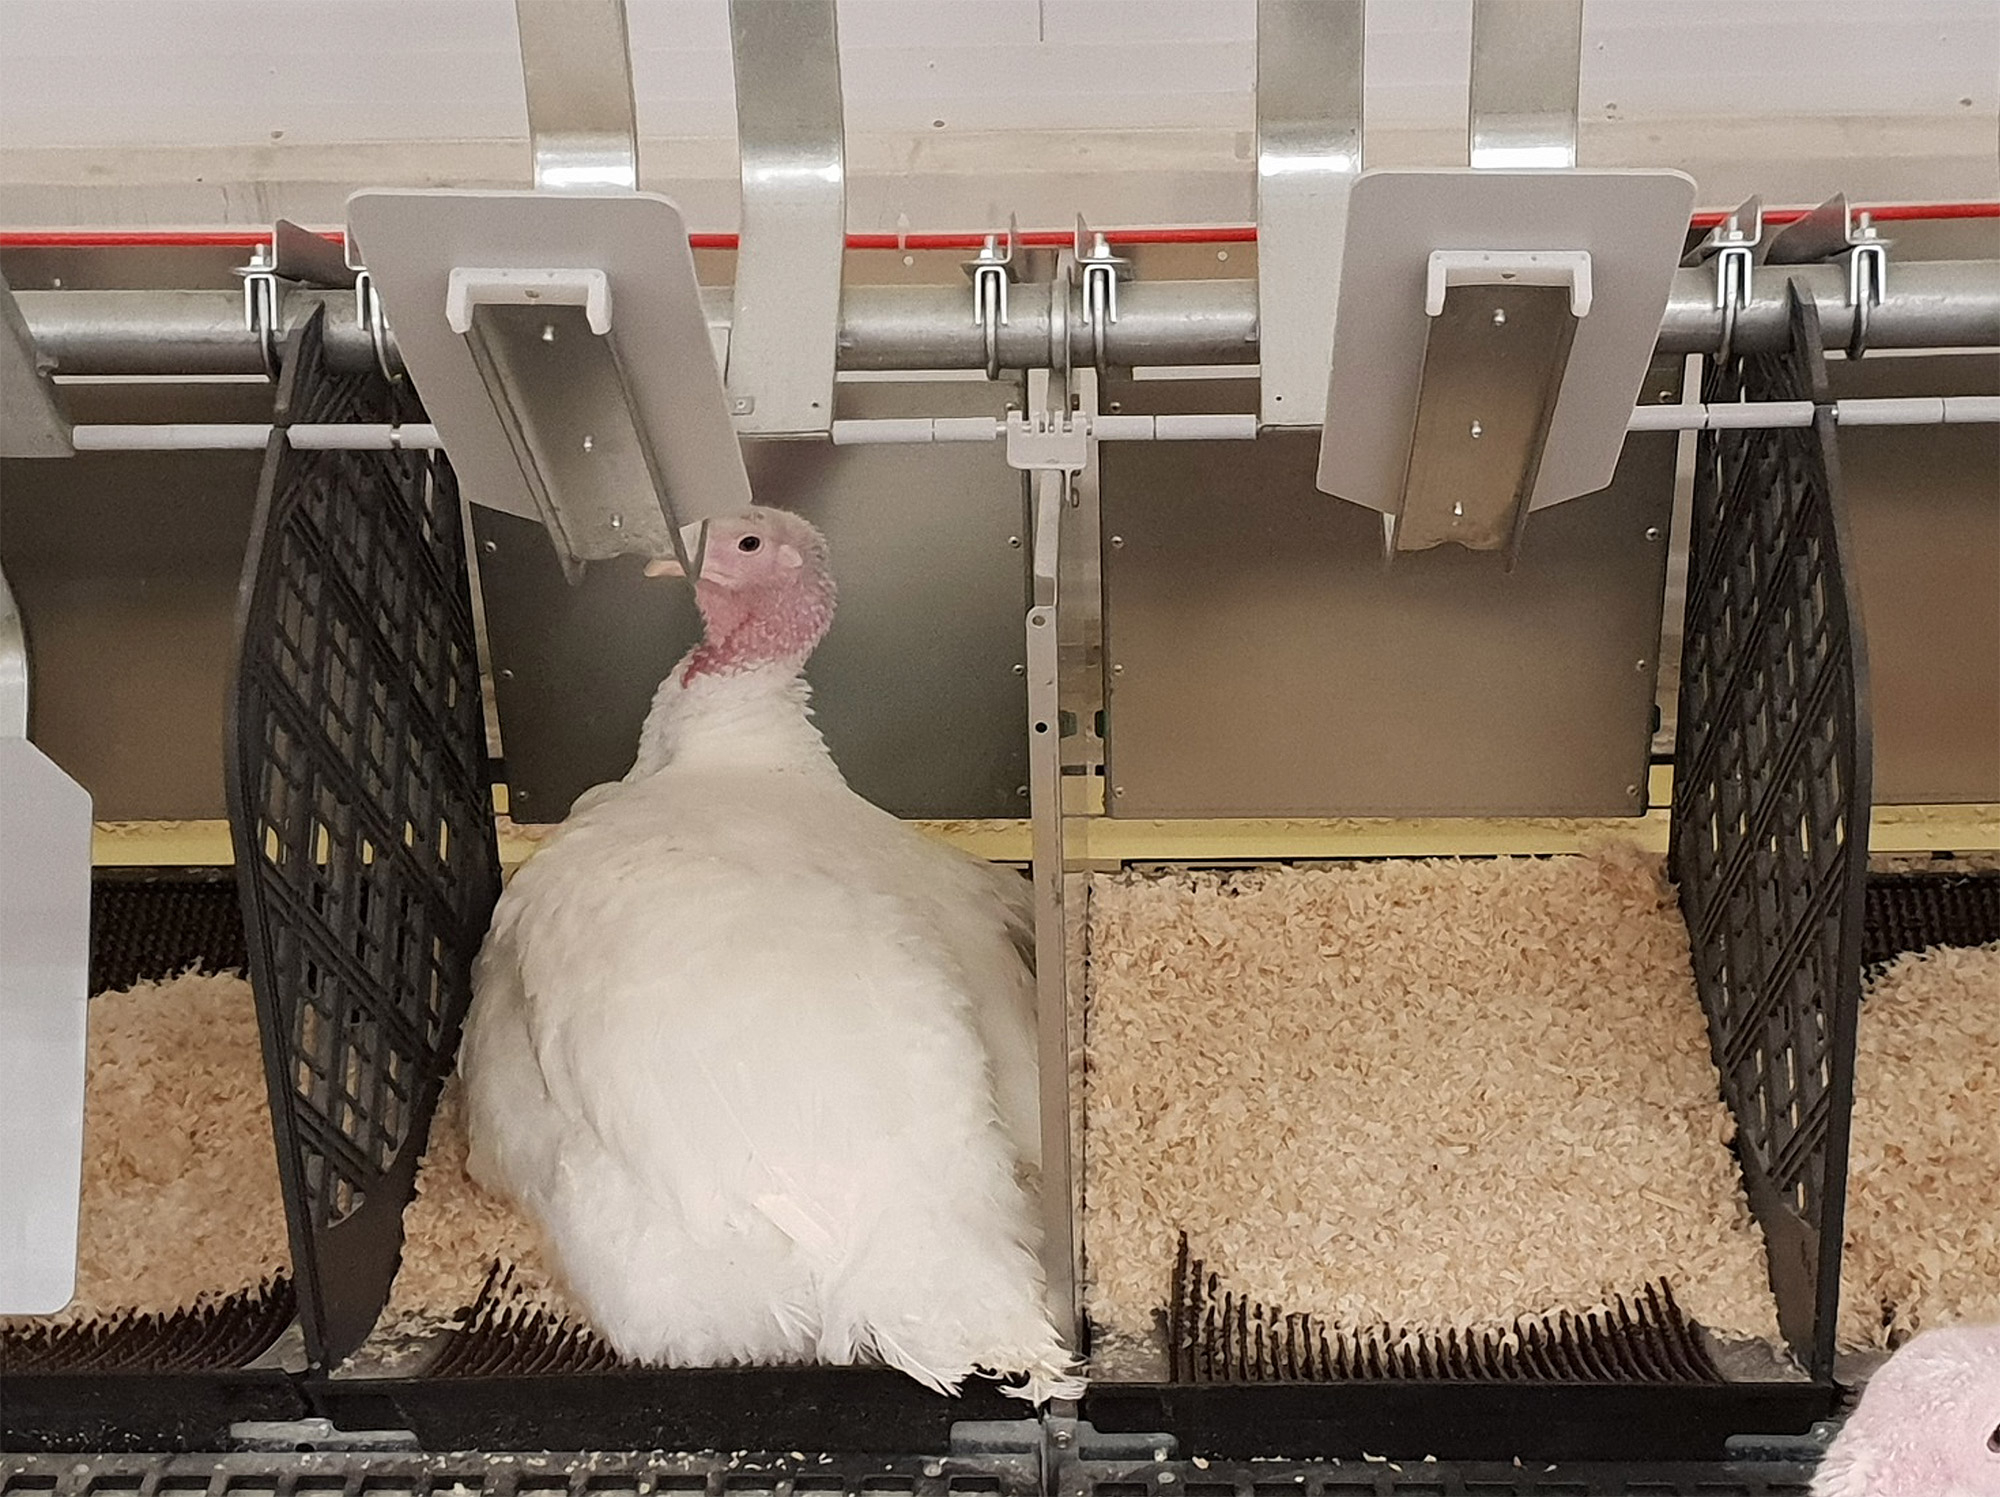
It is important to consider the shape and size of the ramps we use with automatic nests. The height, width and inclination of the ramp must allow a comfortable access to the nest but also a comfortable exit, (see figure 3) avoiding the forcing of females into uncomfortable postures when they descend from the ramp itself or when they walk over it in search of a nest to lay.
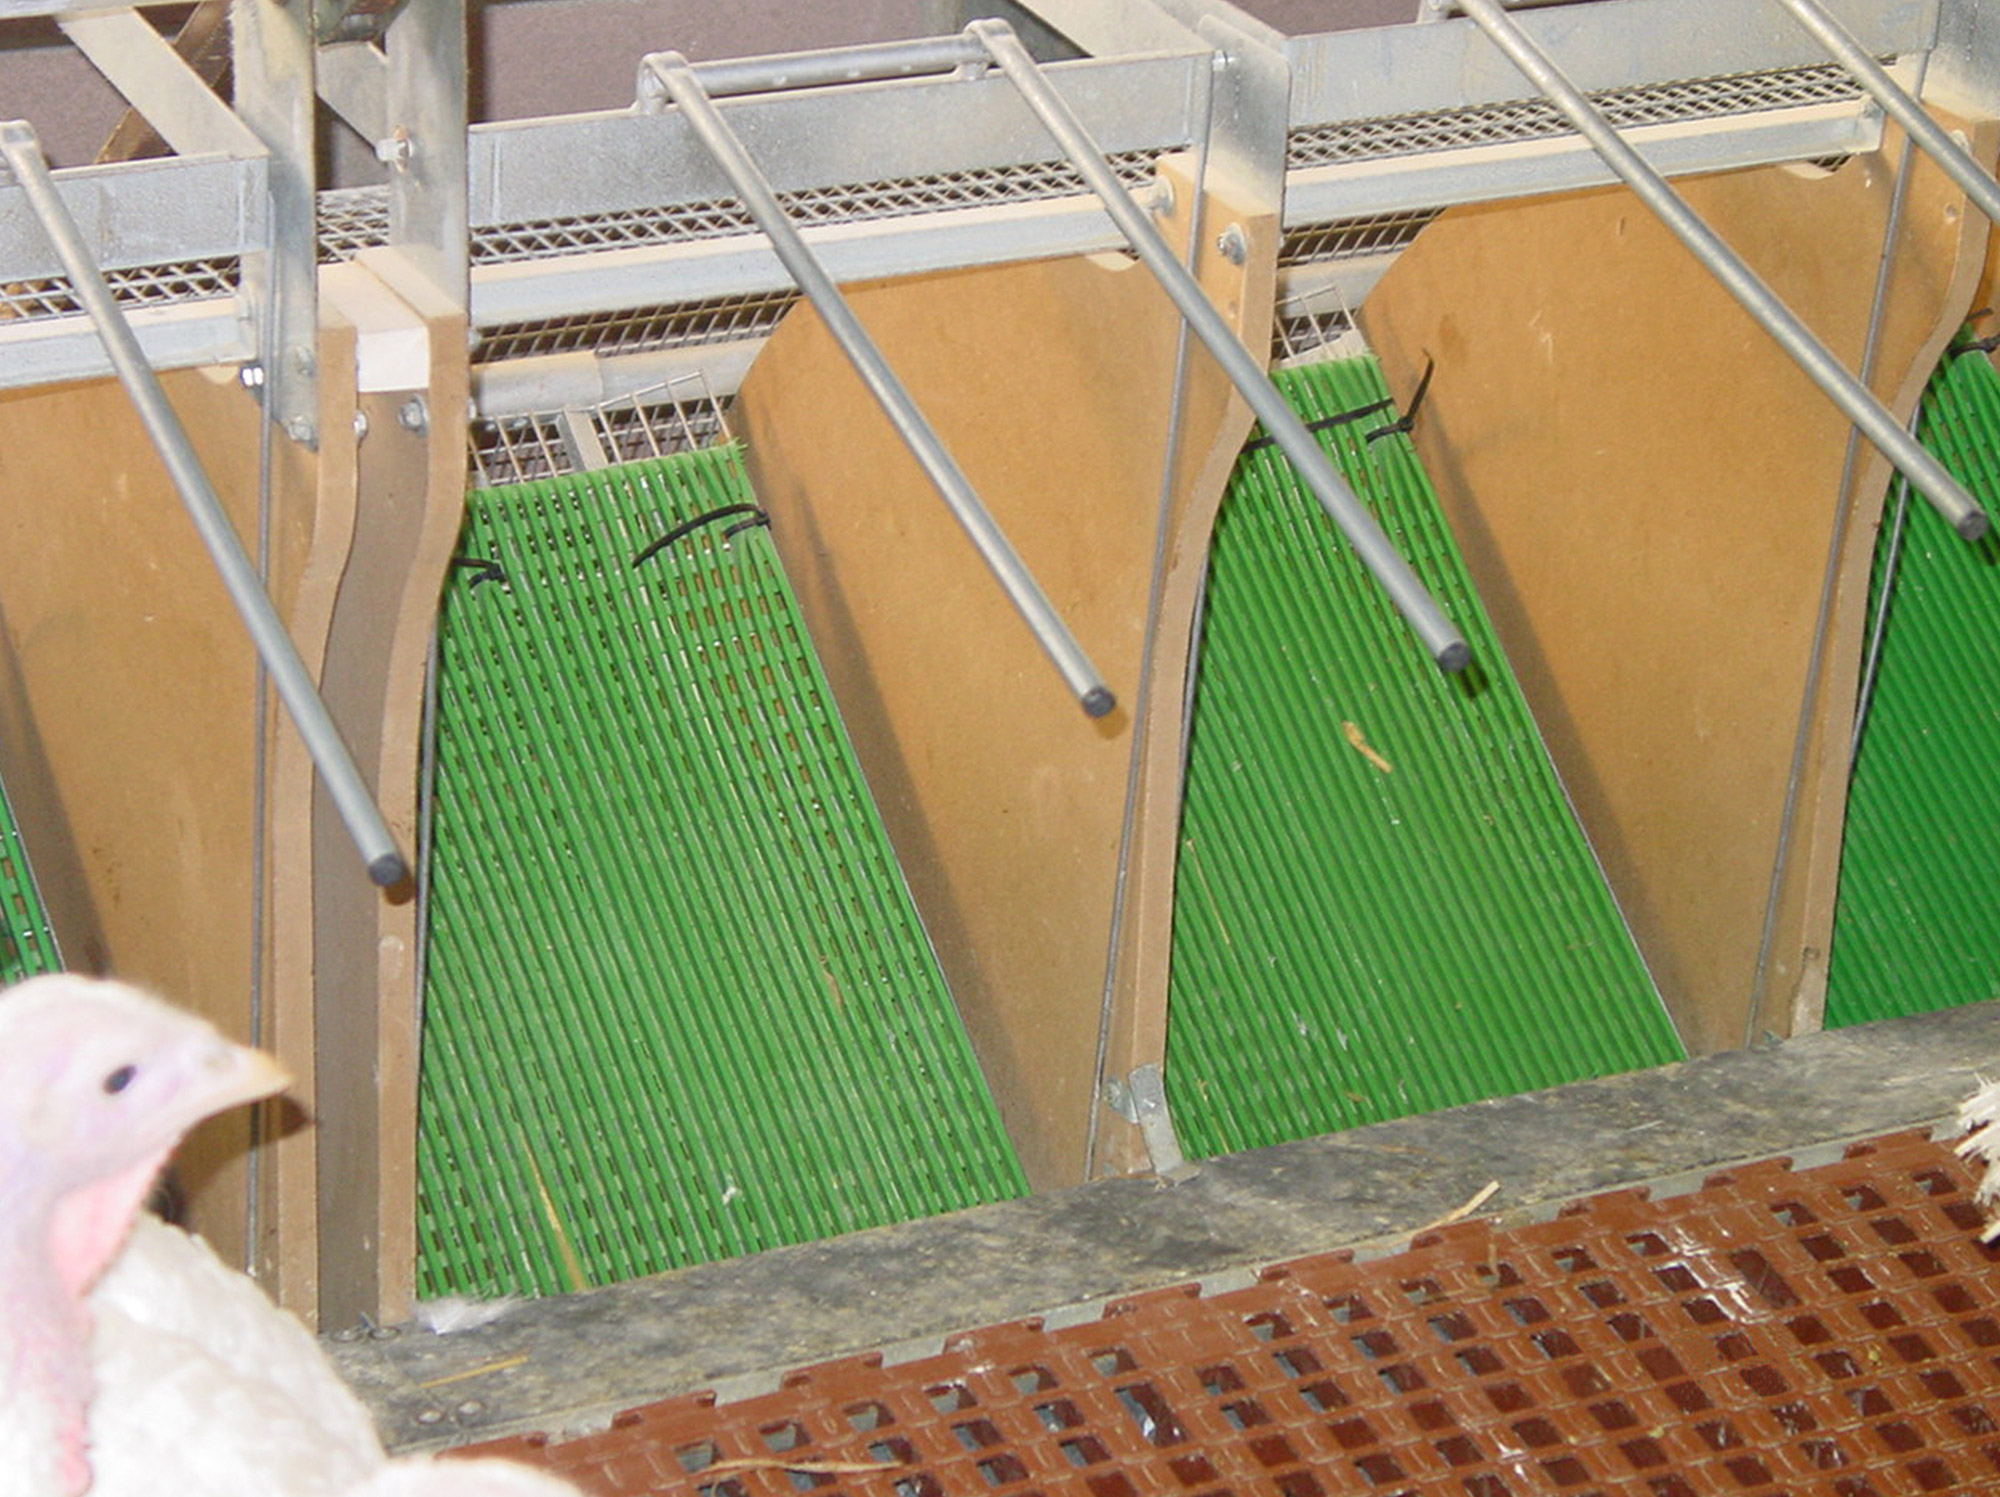
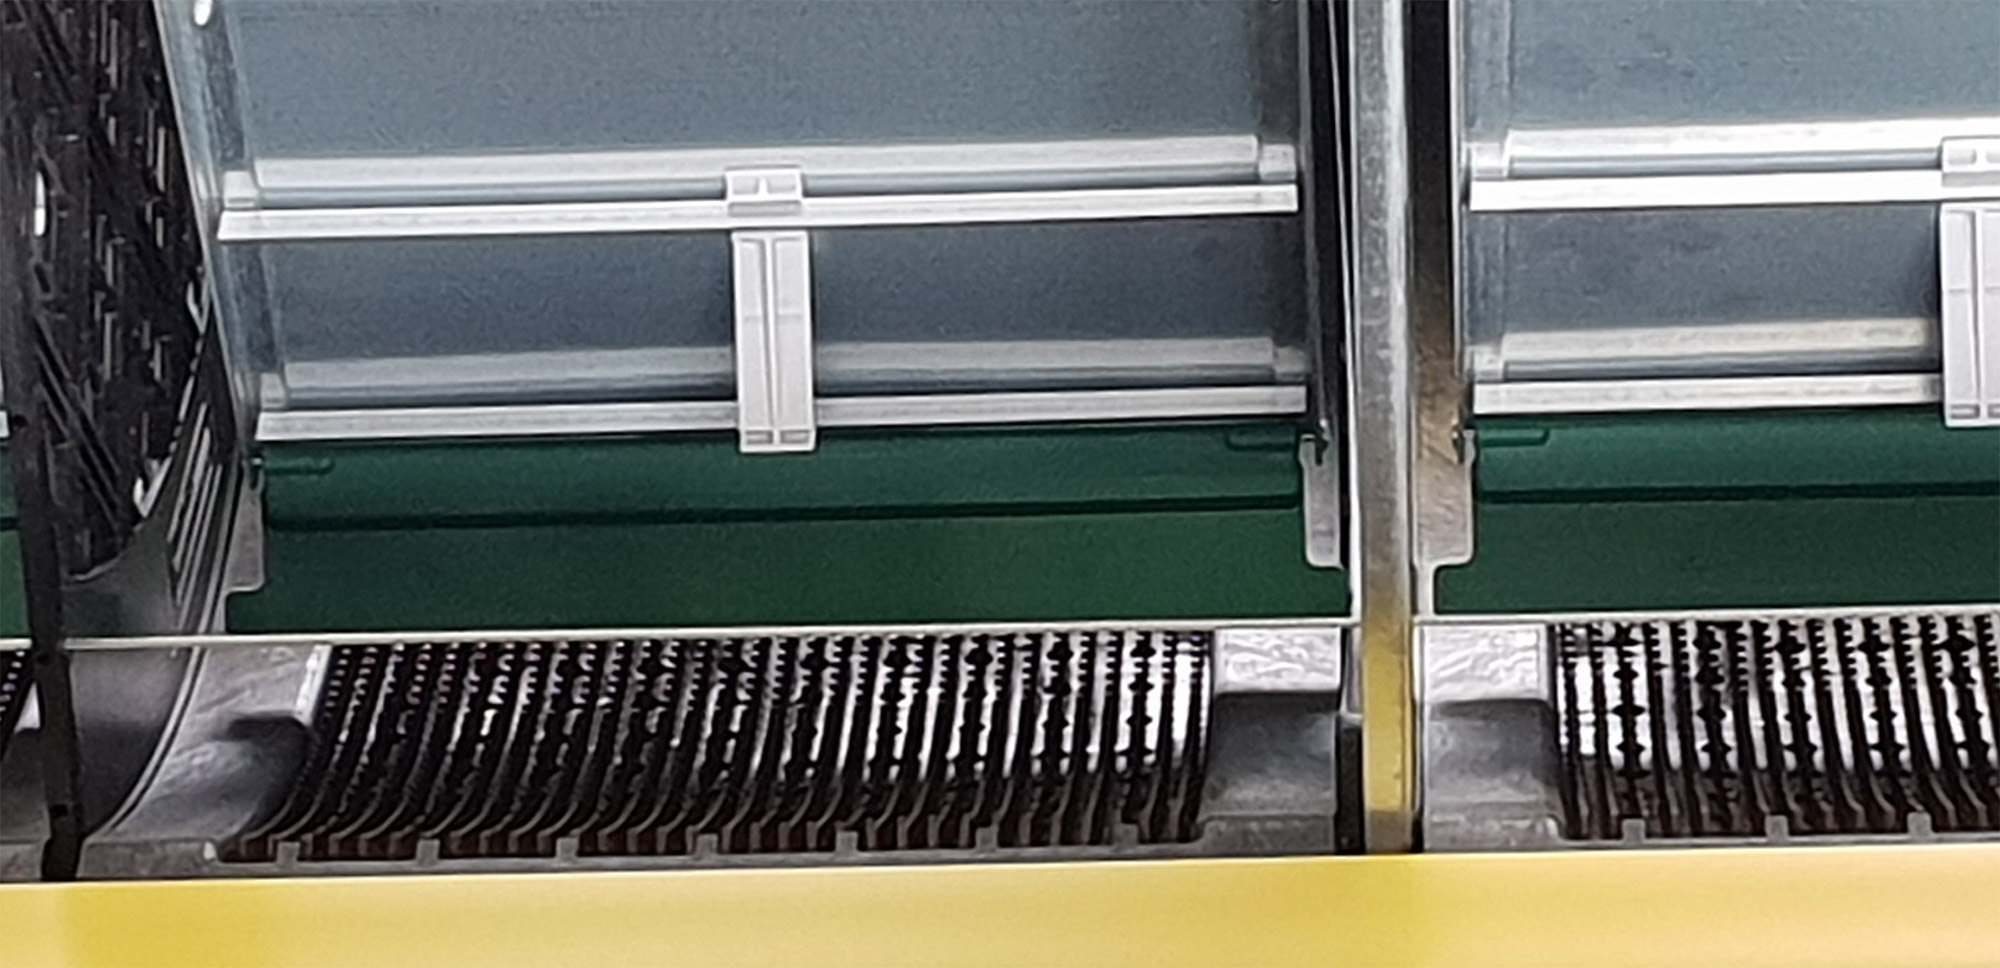
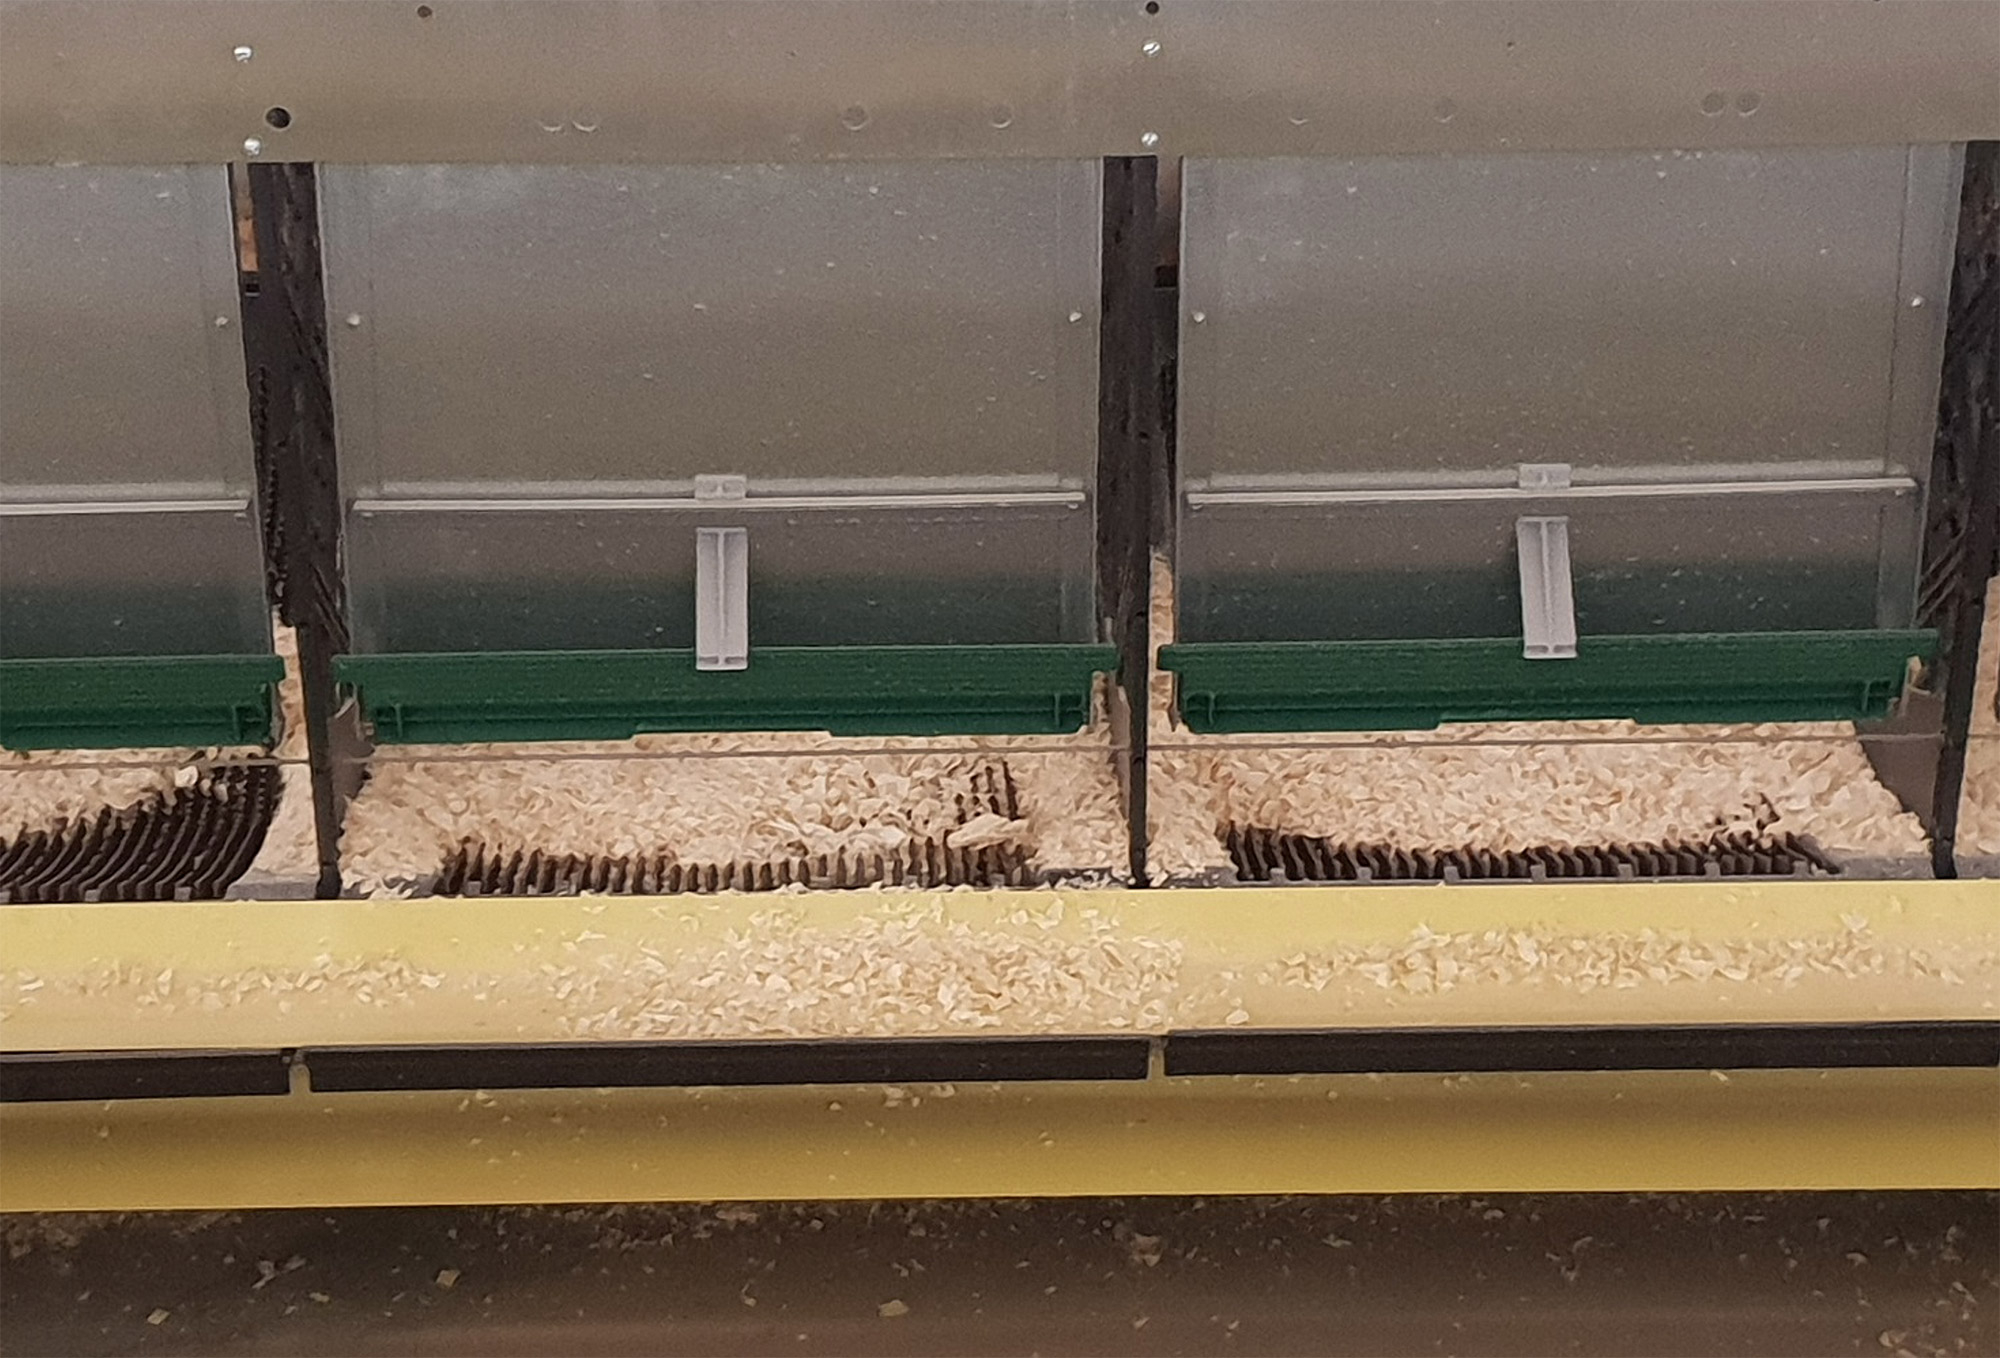
At the bottom of the automatic nests is a plastic mat (see figure 4), which must be cleaned after the weekly peak of egg production (4th – 5th week of lay) and then at least once per week. The cleaning operation (which consists essentially in taking out and shaking the mats themselves) must be carried out in the late afternoon to reduce disturbance of the birds.
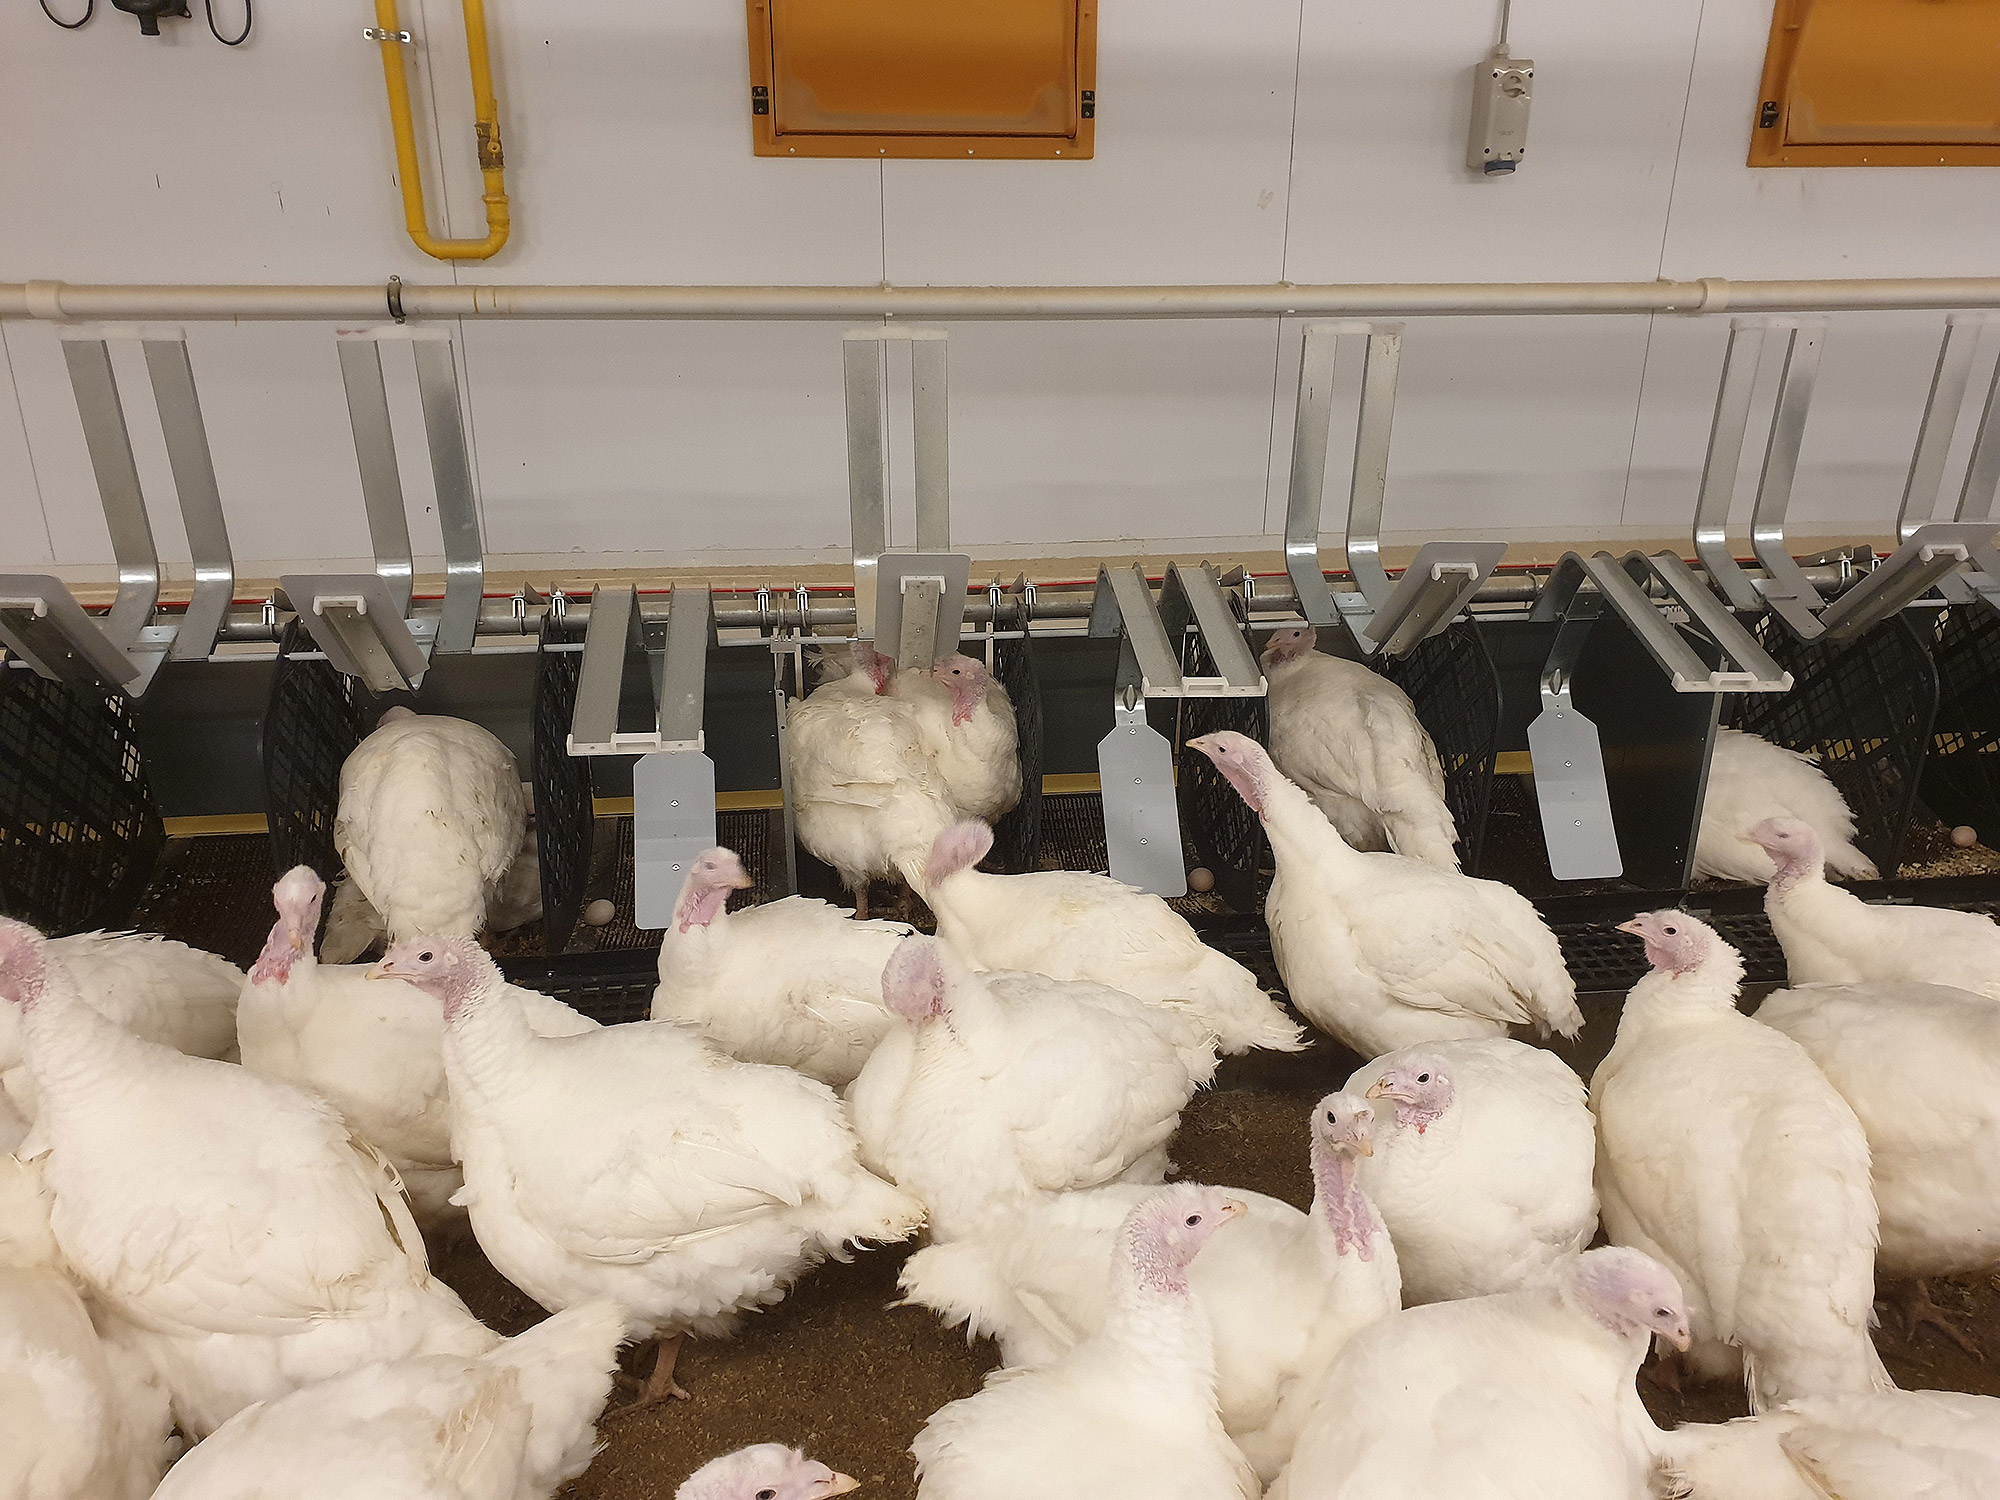
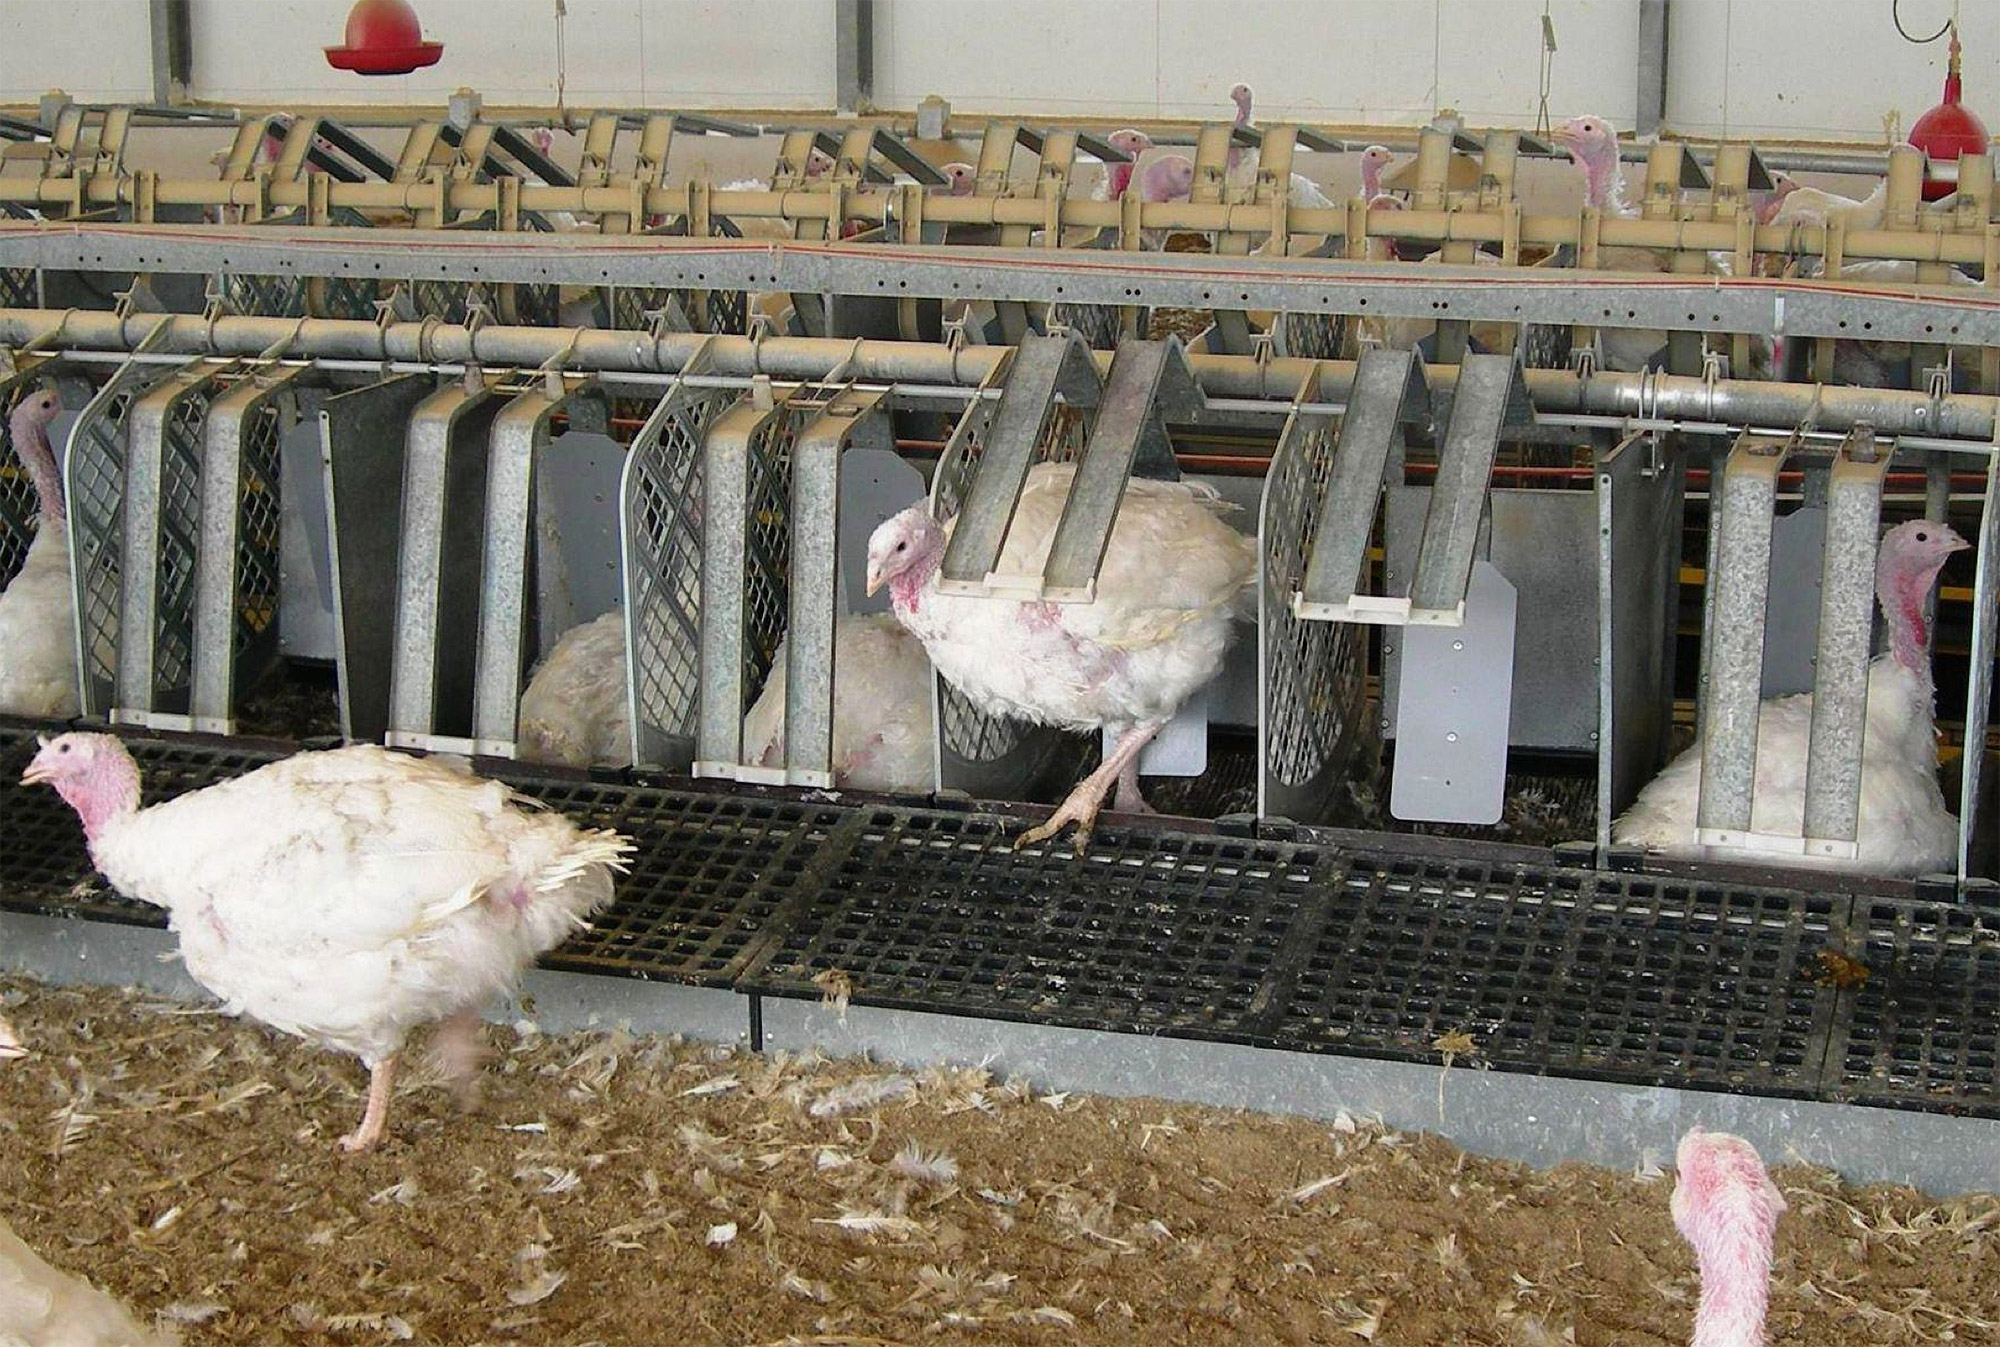
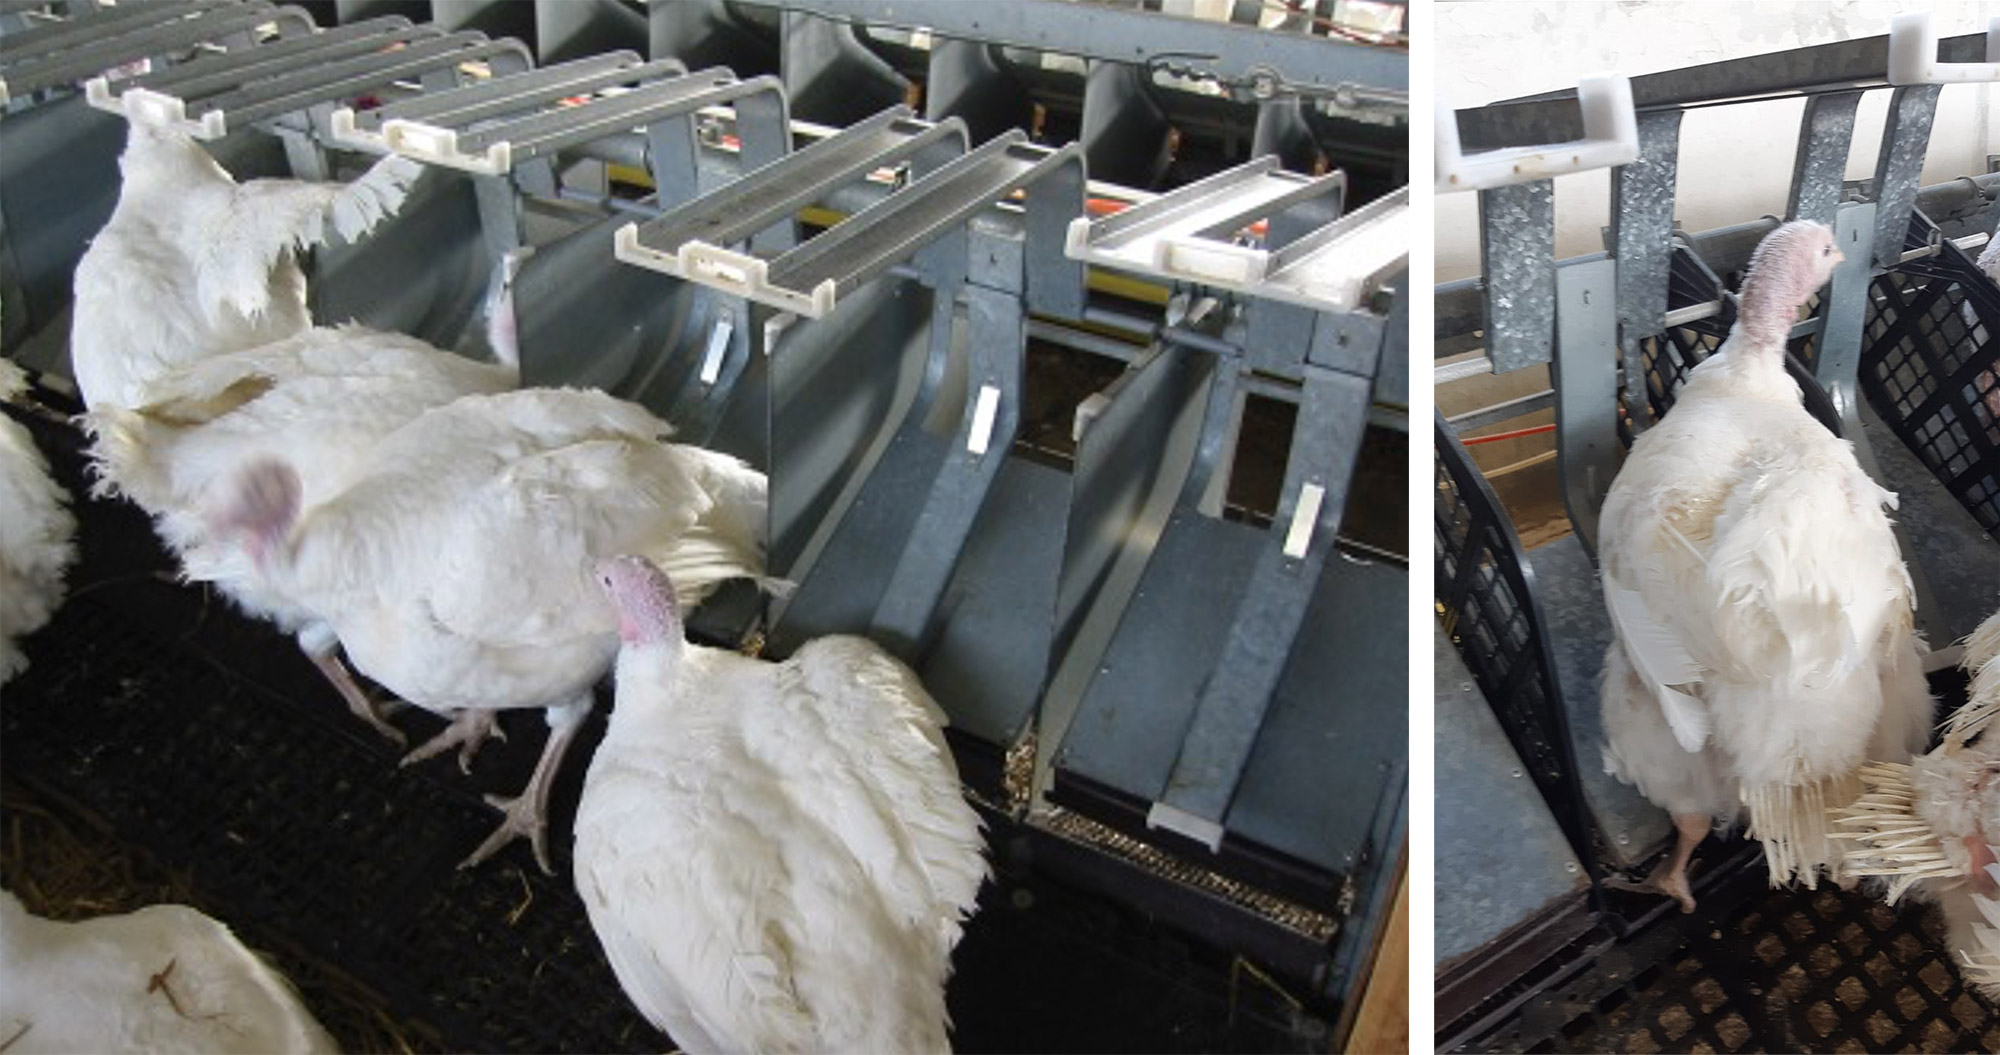
In many automatic nests, the traps can be opened or closed individually and independently from the presence of birds inside the nest. This aspect is very important because this flexibility allows "recall" of the birds (see figure 5a and 5b) when they are introduced in the laying areas and therefore stimulates the laying of eggs inside the nests.
The female pushes on the fork of the trap entering the nest while the trap closes behind her (see figure 6a).
The female can then exit when she wants, pushing in the opposite direction leaving the trap open and the nest available for other animals (see figures 6b and 6c).

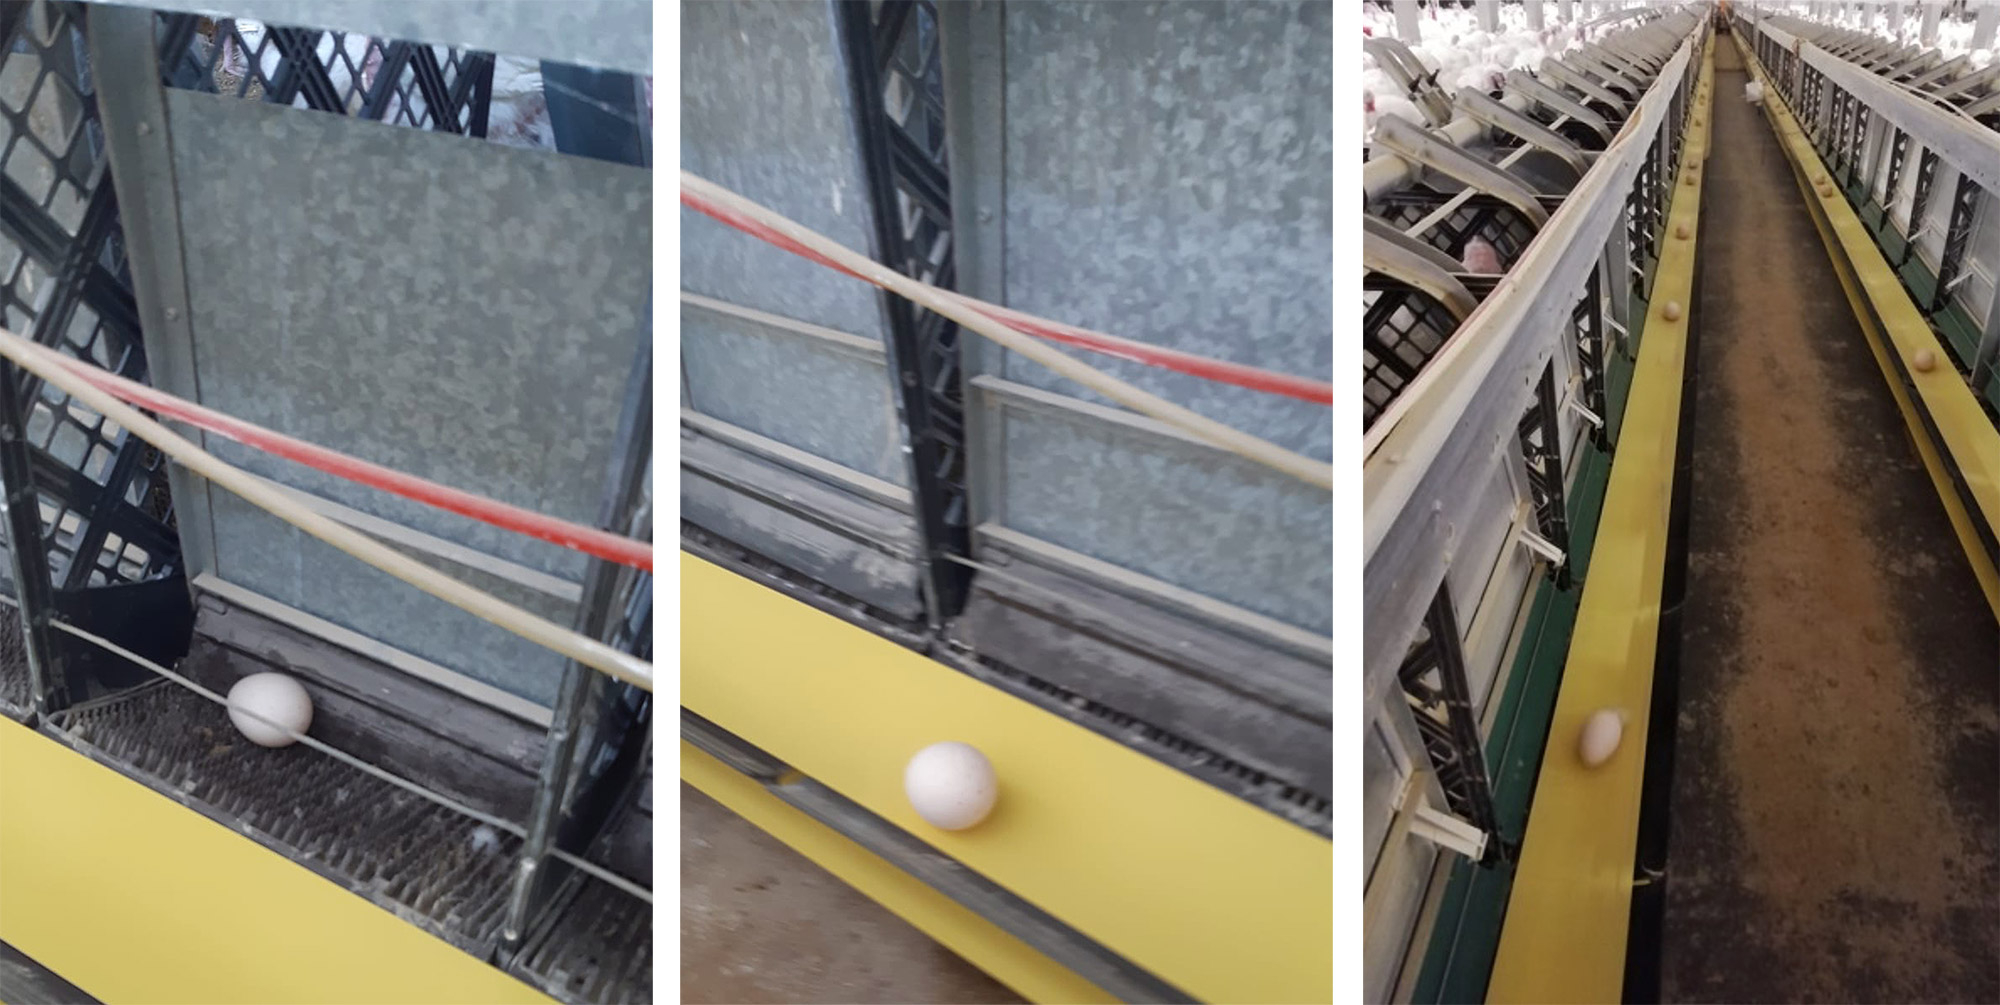
The egg collection is done when the back wall of the nest gently pushes the female out, (see figures 7a and 7b).
Then a plastic flap placed at the bottom of the wall (when it returns to its original position) rolls the eggs onto the conveyor belt located at the back of the nest (see figures 8a, 8b and 8c).
The time between lighting and peak production is the most important period for acclimatisation of the birds to their new environment and training them to use the nests. Training the females to use the nests will help to reduce the number of females laying eggs on the floor. The incidence of floor eggs is a good measure of the success of nest box training and the number of floor eggs should be as small as possible.
Collection cycle (time between collections) generally takes no less than 1 hour, even when the ratio of females to nests is too high. During the daily peak of egg production, it may be necessary to collect more frequently than once an hour.
Especially during and immediately after the weekly peak of production, gently remove the females from the ramps to allow a proper turn over in the use of the nests (and to prevent broodiness).
Infrequent egg collections can result in an increase in the incidence of broodiness, dirty eggs and lower egg production.
Nests can be closed for a 30-minute period during each afternoon when the egg production is at its lowest (after the peak of production and for a couple of weeks). This will encourage the hens to feed and drink and discourages broodiness. It is not advisable to close nests in the morning, as this will cause egg production to start later in the day.
Images courtesy of Vencomatic and MGH